Good To-Go dehydrated meals are as easy to prepare as they are delicious. All you need is boiling water, a utensil, and an appetite. We recommend a camp stove or kettle for bringing water to a boil quickly and efficiently.
Follow the step-by-step instructions below and refer to your package for specific cook times and water volumes.
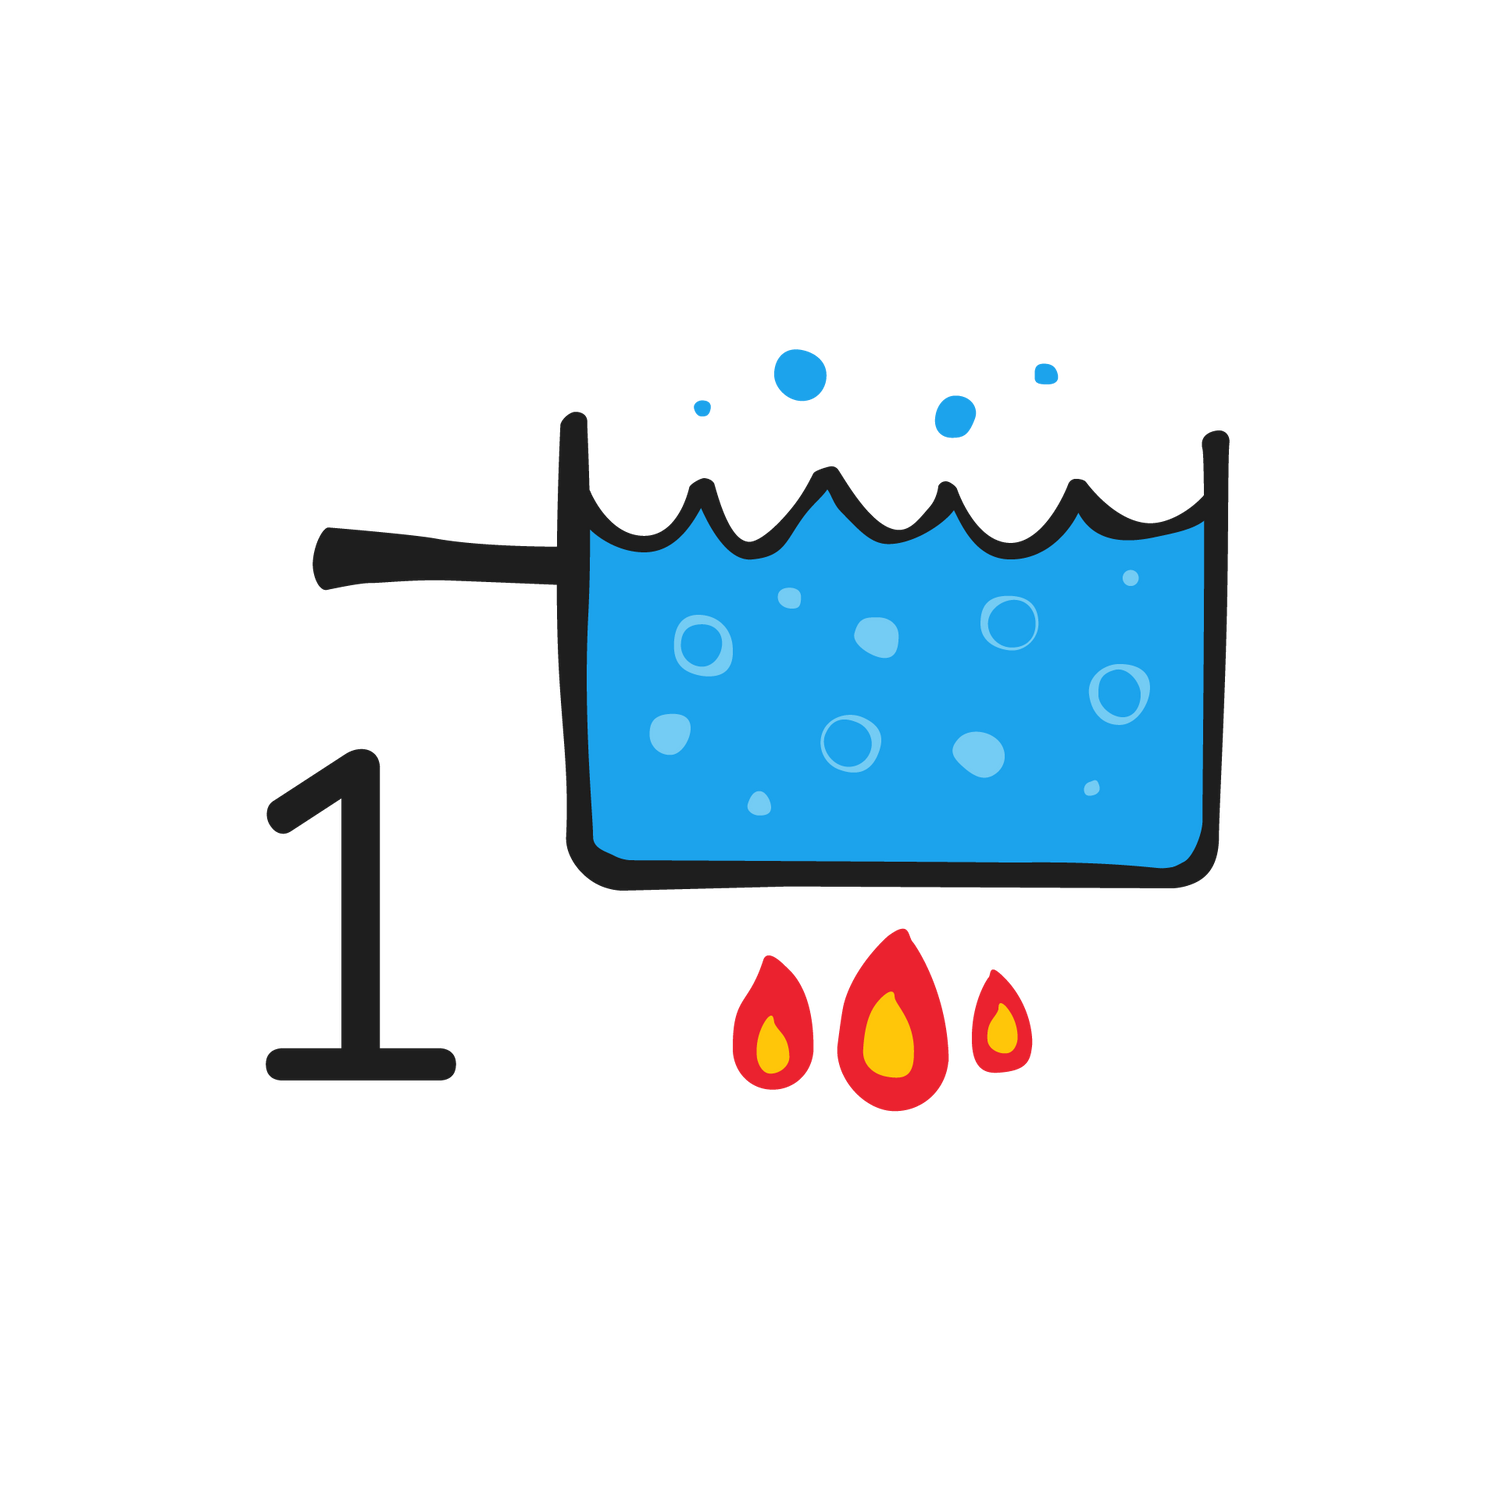
Boil Water
Easy enough, right? One quick note—it's important to bring your water to a 'rolling' boil. Any method used to boil water will suffice, though we prefer to use a camp stove (such as a Jetboil) or an electric kettle.
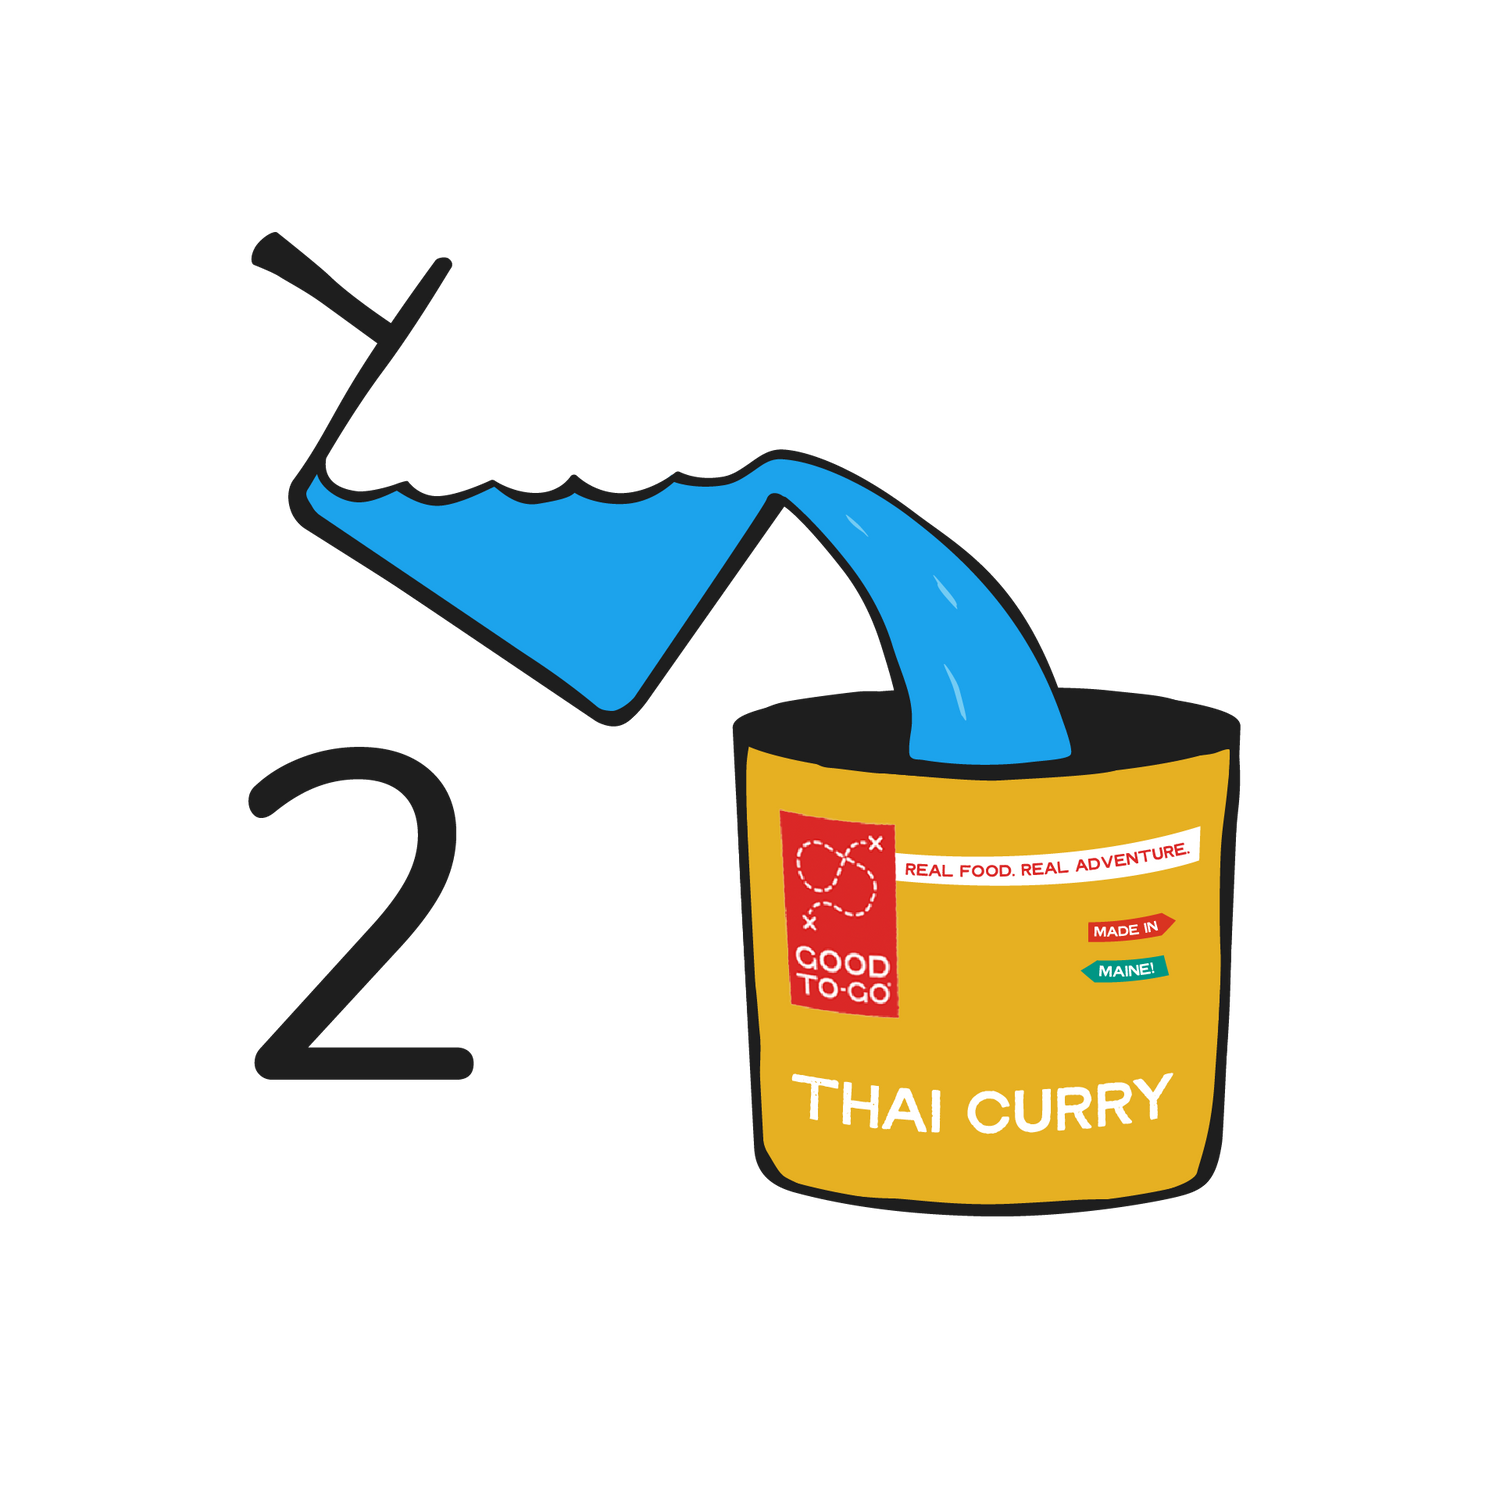
Add Water to Your Meal
Tear open the bag, remove the oxygen absorber, and pour the BOILING water directly to the bag. You're almost there!
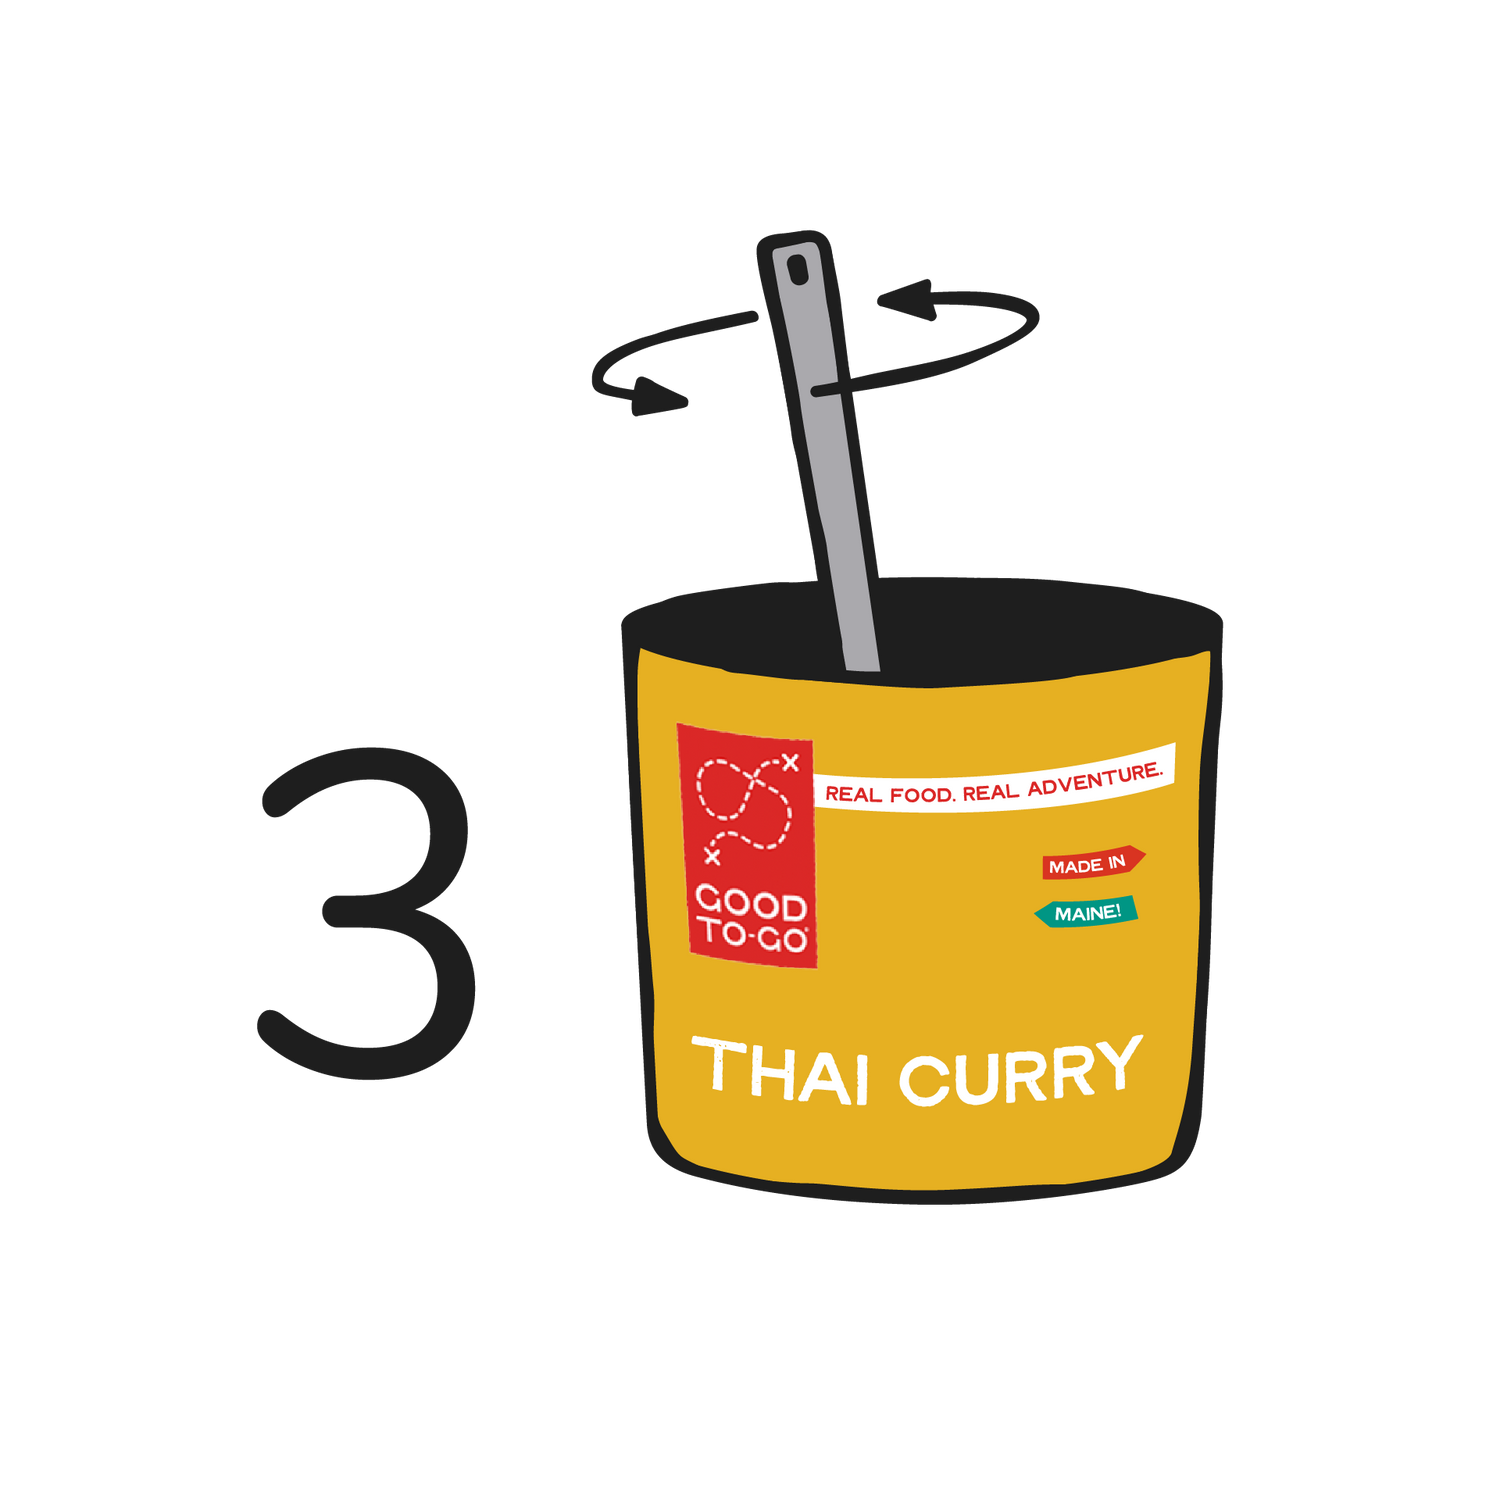
Stir it Up
Grab your spork, spoon, whatever utensil you prefer—ideally something with a fairly long handle. Stir well, getting into the corners of the pouch, then fully seal the zipper.
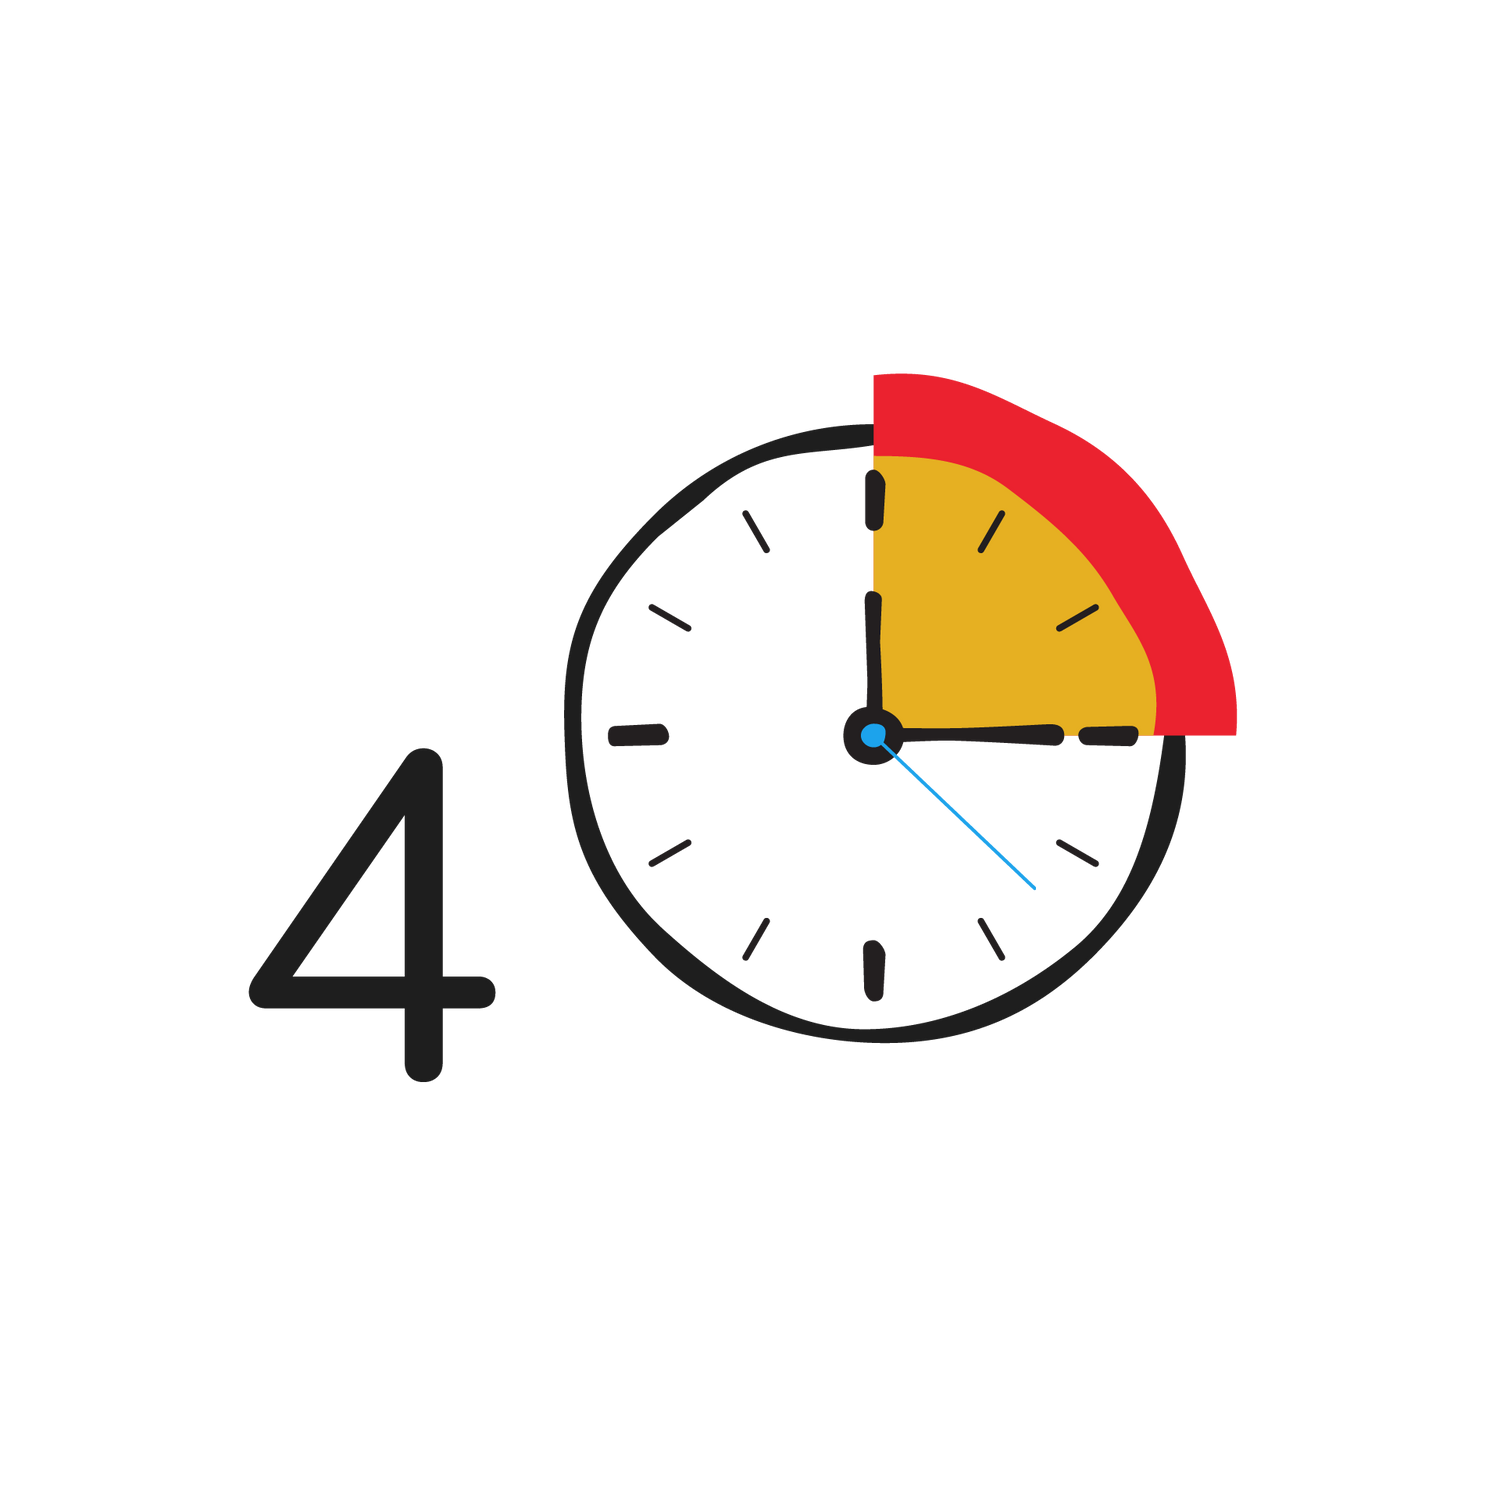
Wait a Bit...
Refer to your meal's cook time. Think about how big the universe is. Or, add the water to your meal and then set up camp, or chop some wood. By the time you're done, you're fully cooked meal will be waiting. ENJOY!
Pro Tips
While its incredibly easy to prepare a Good To-Go meal, occasionally there can be challenges. It's best to know what to expect, so that when you're out in the backcountry, you're ready to deal with any situation.
COLD CLIMATE
Cold temps are what make winter great, but it can also cool your meal down and hinder the rehydration process. When preparing your meal in below freezing temperatures, consider insulating the pouch with a jacket or other piece of insulating gear. Many prefer to tuck it into the jacket they're wearing, as this keeps you warm and the meal from cooling off. Please use caution if using this method, boiling water can cause severe burns.
Always remember to have your water at a full rolling boil just before adding to the pouch!
COOKING AT ELEVATION
Water boils at a lower temperature at higher altitudes. Simply put, you're adding water that isn't as hot as water boiled at sea level. This means that your meal may require more rehydration time. While there's no exact science to reference, we have found it best to add a good minute or two of cook time for every 1,000 feet of elevation above 5,000 ft. If your meal calls for 10 minutes, and you're at 7,000 ft, give it 12-14.
If you try your meal and there's any crunchy bits that could use a little more time, simply reseal the pouch and give it some more time.
MEASURING WATER
While having access to a measuring cup (many camp stoves include volume markings) is preferred, it's not entirely necessary and/or always available. No worries—this is why we put our "Vaguely Approximate Fill Line" on the back of the pouch. As the name implies, this is an approximation, so please bear this in mind.
Remember, you can always add more water, but once added, it's in there. If you're unsure of your measurement, be conservative with the amount of water, as you can always adjust with a little more once rehydrated.
DIFFICULTY REHYDRATING
So, you followed the directions, opened your meal and took your first bite, only to find that it hasn’t fully rehydrated. With so many variables at play, such as ambient temperature and elevation, it’s not uncommon for a meal to require a bit more rehydration time than what is stated in the directions.
If there are any ingredients that haven't rehydrated fully—corn, for example, requires optimal conditions for rehydration—then reseal that pouch and give it more time. It'll get there, we promise.